Geotechnical testing is a crucial aspect of planning and constructing building and infrastructure projects. This testing, performed by geotechnical engineers, technicians, or engineering geologists, helps in understanding the subsurface conditions, which is essential for the successful execution of projects such as foundations, roads, bridges, excavation pits, land reclamation, and beach nourishment. The type and extent of geotechnical investigation depend on the nature of the project and the expected ground conditions. This blog explores the different types of geotechnical testing, explaining when and why they should be used, and providing examples to illustrate their applications.
1. Test Pits
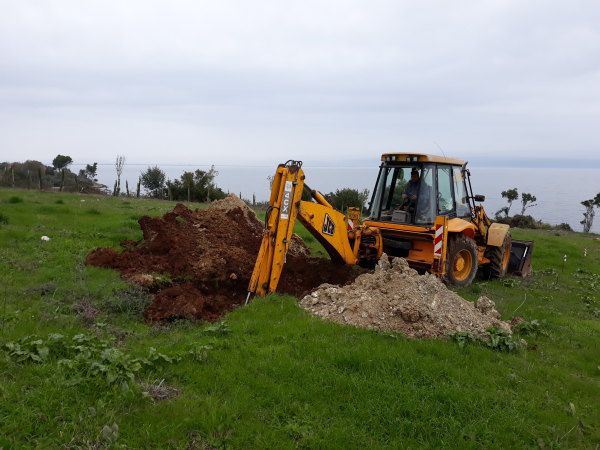
Test pits are essentially shallow excavations dug manually or with an excavator to expose subsurface conditions. They are typically used for siting shallow foundations.
When to Use:
When the subsurface conditions need to be visually inspected. For projects requiring a shallow depth of investigation, such as small buildings or light structures.
Example:
For a residential building, a test pit can be dug to a depth of 2-3 meters to inspect the soil layers and identify any potential issues such as loose fill or organic material.
Advantages:
Direct visual inspection of subsurface conditions.
Relatively low cost and simple to perform.
Limitations:
Limited depth of investigation.
Not suitable for projects requiring detailed information about deeper subsurface conditions.
Trenching:
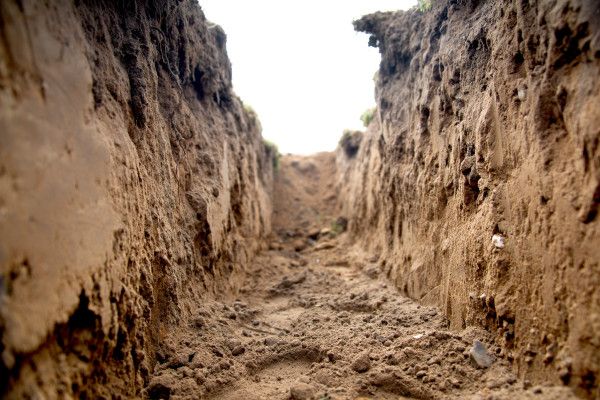
Trenching involves digging an elongated pit to observe how subsurface conditions change over a distance. This method is useful for identifying sedimentary changes across a site.
When to Use:
For projects where the consistency of subsurface conditions needs to be evaluated over a large area. Useful in linear projects like pipelines or roadways.
Example:
In the construction of a new road, trenching can reveal variations in soil composition along the proposed route, helping to identify areas that may require additional stabilization.
Advantages:
Provides a continuous profile of subsurface conditions.
Useful for identifying lateral variations in soil and rock layers.
Limitations:
More labor-intensive and costly than test pits.
Limited to shallow investigations.
Soil Borings
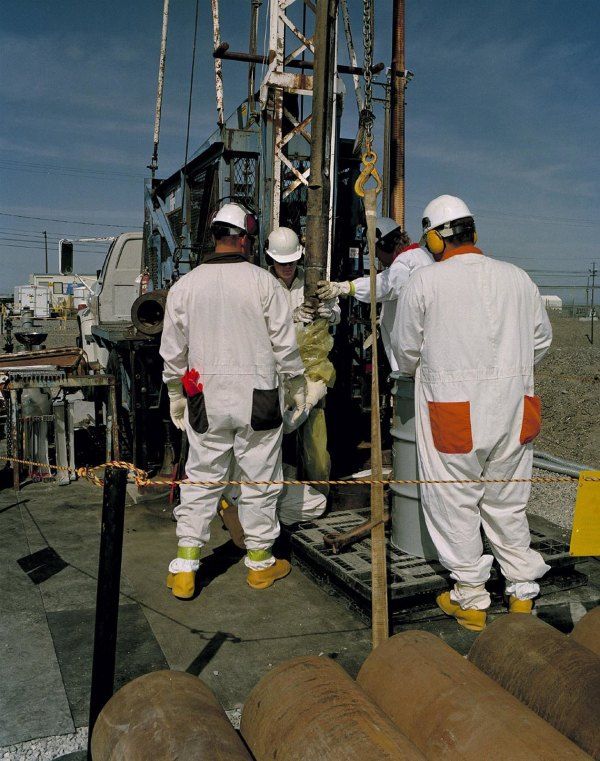
Borings are performed using drill rigs to create boreholes that can be used for various tests, including Standard Penetration Tests (SPT) and soil or rock sampling.
When to Use:
For projects requiring detailed information about deeper subsurface conditions.
Essential for medium to large structures like high-rise buildings or bridges.
Example:
For a high-rise building, borings can be drilled to a depth of 30 meters or more to obtain soil samples and perform SPT to evaluate soil density and strength.
Advantages:
Provides information about deeper subsurface conditions.
Allows for the installation of piezometers to monitor groundwater levels.
Limitations:
More expensive and time-consuming than test pits and trenching.
Requires specialized equipment and trained personnel.
4. In Situ Testing
In situ testing involves testing subsurface conditions directly in the field. Common in situ tests include Standard Penetration Tests (SPT) and Cone Penetrometer Testing (CPT).
When to Use:
When accurate, real-time data about subsurface conditions are needed.
For projects requiring high-resolution data about soil strength and stratigraphy.
Example:
In a coastal engineering project, CPT can provide detailed information about the stratigraphy and strength of marine sediments, aiding in the design of foundations for offshore structures.
Advantages:
Provides accurate and immediate data about subsurface conditions.
Reduces uncertainties in geotechnical design.
Limitations:
Requires specialized equipment and expertise.
Can be more expensive than other methods.
Choosing the Right Geotechnical Test Selecting the appropriate geotechnical test is crucial for reducing uncertainties and ensuring the safety and stability of the structure. Often, multiple tests are used in conjunction to provide a comprehensive understanding of the subsurface conditions. For instance, combining boring with CPT can offer detailed information about both the stratigraphy and the physical properties of the soil.
Example Calculation: Standard Penetration Test (SPT)
The SPT involves driving a split-barrel sampler into the ground at the bottom of a borehole using a standardized hammer. The number of blows required to drive the sampler a certain distance (usually 30 cm) is recorded as the N-value, which is an indicator of soil density and strength.
Where:
N1 and N2 are the number of blows for the second and third 15 cm of penetration (the first 15 cm is considered a seating drive).
For example, if it takes 8 blows for the second 15 cm and 10 blows for the third 15 cm, the N-value would be:
𝑁 = 8+10 = 18
Understanding the different types of geotechnical testing methods and their applications is essential for accurate site characterization and successful project execution. By selecting the appropriate testing method(s), engineers can reduce uncertainties, minimize construction risks, and ensure the safety and stability of their projects. Whether it's a simple test pit for a residential building or a detailed CPT for an offshore structure, each method plays a vital role in the geotechnical investigation process.